Congratulations Clarice, you are the winner. Please send me an email about receiving your prize.
Friday, February 15, 2013
Valentine’s Day Giveaway Winner
Congratulations Clarice, you are the winner. Please send me an email about receiving your prize.
Wednesday, February 13, 2013
Happy Valentine's Day (Giveaway)
Do you love or hate Valentine’s Day? I have mixed feelings about the holiday. While I enjoy showing some love to the people I care about; I have a low threshold for the holiday’s clichés. I especially hate Kay Jewels advertisements. They are cringe worthy.
One thing I can’t get enough of though, holiday treats. When I was a kid, my mom used to make heart shaped cookies with pink butter cream frosting. Those babies were magical. Now that I am an adult, my mom sends me chocolates. Equally delicious and far less work for her.
So in honor of Valentine’s Day, I am giving away the chocolate bar pictured below to one lucky reader. To enter the drawing, leave a comment on this post telling me your name and your favorite Valentine’s Day treat. Post your comment by Midnight EST. on 2/14/2013. I will randomly draw a winner and post the winner’s name on Friday.
Tuesday, February 12, 2013
Ingredient 6 – Broccoli Rabe
Begin by bringing 3 to 4 quarts of salted water to a boil and place a large mixing bowl, half-full of cold water, in the freezer. While the water is coming to a boil, heat 2 tablespoons of olive oil in a covered skillet (medium heat). Once hot, add the sausages, cooking them on each side for 4 to 5 minutes. FYI - I covered the skillet because I wanted to ensure the sausages were fully cooked.
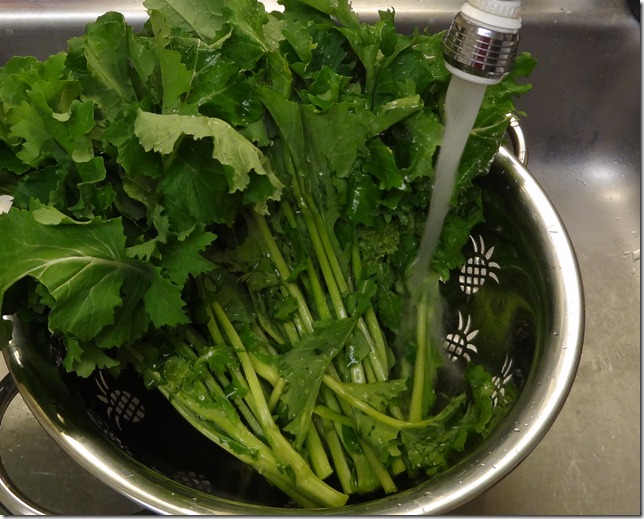
While the sausages are cooking, prep the rabe. The prep is gloriously simple; rinse the rabe and cut off the bottom inch of the stems. By the time the rabe is prepped, the sausages will be done cooking. Place them on a plate to cool.
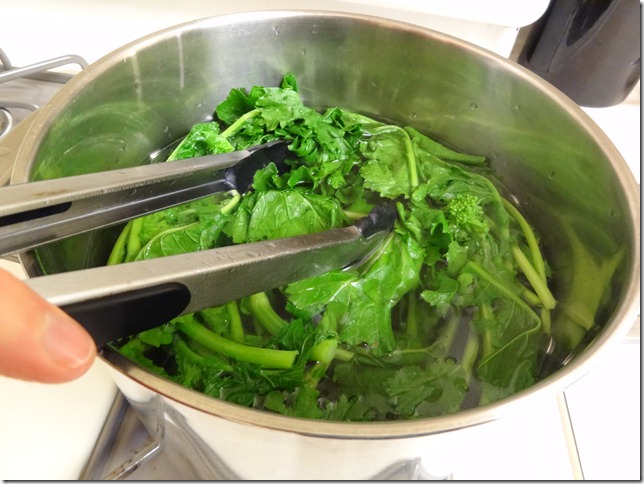
When the pot of water has reached a a nice rolling boil, add 1/2 the rabe, cover the pot, and let it cook for 90 seconds. After 90 seconds, remove the rabe from the pot with kitchen tongs, place it in the bowl of cold water you removed from the freezer, and let it sit in for 1-2 minutes. Repeat the whole sequence with the other 1/2 of the rabe.
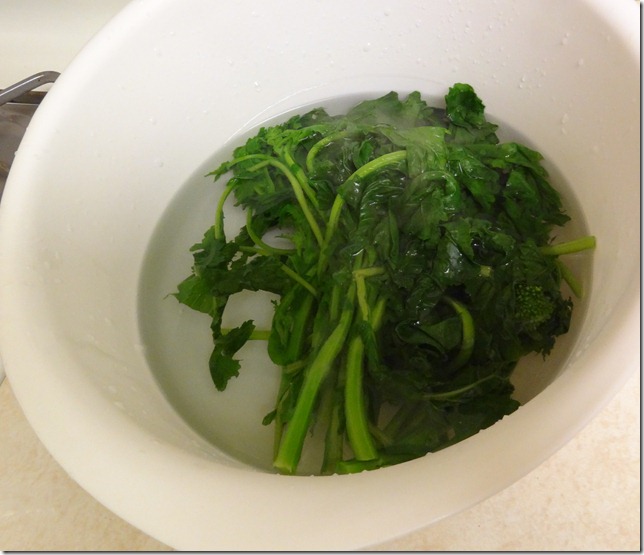
In case you were curious, quickly cooking the rabe in hot water and then placing it in cold water removes the rabe's bitterness. This cooking technique is know as blanching.
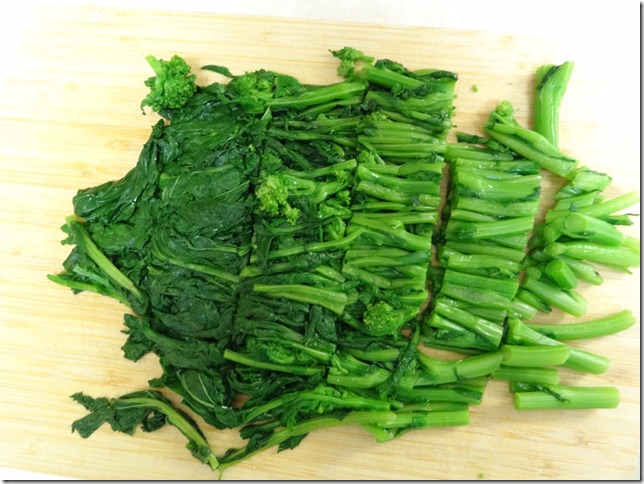
Once all the rabe had been blanched, gently press out the excess water and chop the rabe into bite sized pieces (1 to 1 and 1/2 inches).
Next, dice the 9 cloves of garlic, sliced the sausages, and drain and rinse the canned beans.
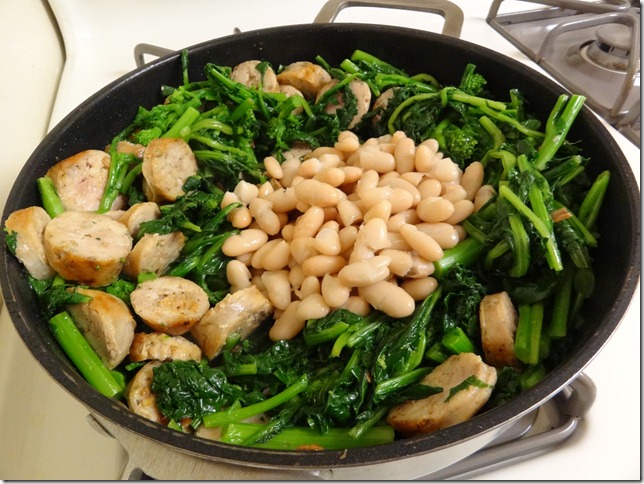
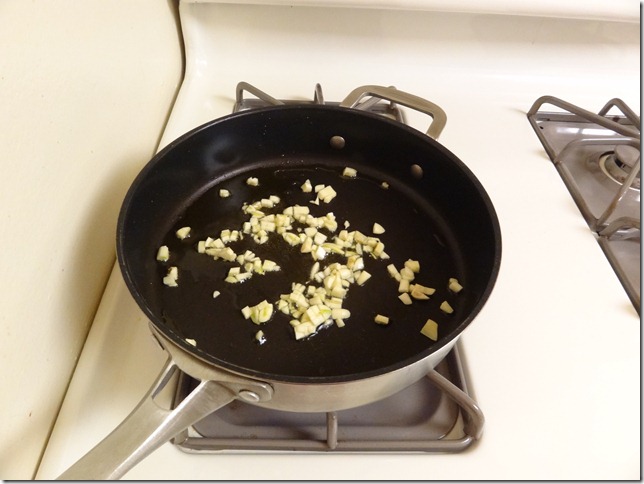
Again heat 2 tablespoons of olive oil in a covered skillet (medium heat). Once hot, add the garlic, cooking it until it is light brown (roughly 2 minutes). Next, add the sausage and rabe, letting it cook 2 to 3 minutes, turning it occasionally. Finally, add the beans, and red pepper flakes. Gently mix the ingredients and cover the pot. Let the contents cook on medium low heat for 4 to 5 minutes.
Remove from heat, sprinkle the cheese on top, and serve.
I was pretty happy with how this dish came out. There was plenty of rabe and I am always disappointed when greens disappear into a dish. The main downside to the dish was the number of dishes it created. As for taste, it was good the first night but even better the next day when I reheated the leftovers for lunch. Overall grade: B.
Sunday, February 10, 2013
Ingredient 5 - Take 2 - Dates
8-10 pitted dates
4 strips center cut bacon
Blue cheese
I tried cutting the bacon in half lengthwise like all the recipes suggested, but the bacon fell apart. I ended up cutting each strip of bacon in half or in thirds; bigger dates got longer pieces of bacon. I stuffed most of the dates because I wanted to use up the blue cheese I purchased for the previous attempt.
I used toothpicks to help secure the bacon to the dates. You don't have to use toothpicks but I thought it keep everything together better when turning.
I baked the dates at 400 degrees for 10 minutes before turning them and baking them another 3 to 4 minutes. I thought I might have to cook them cook them 8 to 10 minutes after turning. However, I kept a close eye on these after last week's fiasco.
I would recommend baking the dates for about 14 minutes, turning halfway through. Watch them closely because bacon is a fickle friend. It can turn from wonderfully crispy to burnt all too quickly.
Let the dates cool for 5 to 10 minutes before consumption.
Not surprisingly, Dave and I thought these dates were much better than the first batch. The bacon was crispy and the dates and cheese melted in the mouth. Overall grade: B.
Monday, February 4, 2013
Ingredient 5 – Dates
Dates are the fruit of the date palm tree. They have been cultivated for thousands of years, originally in and around Iraq. The date fruit is oval shaped and ranges from bright red to bright yellow when ripe. There are three main types of dates: soft (e.g. Medjool), semi-dry, and dry. Dates have a cylindrical pit, but you can buy them pitted. Dried should be stored in an airtight container in a cool dry place (up to 6 months) or the refrigerator (up to a year).
When searching Google for instructions on how to prepare the dates, I came across recipes with a range of cooking temperatures, 350 to 450 degrees. I decided to go with 400 degrees.
Bacon Wrapped Dates
I saw varying directions on how to prepare the bacon for wrapping. But most of the recipes suggested cutting the bacon in half lengthwise. I tried a few different wrapping styles in an attempt to see which worked best. Some dates got more bacon wrapped around them then others.
After I prepared the dates, I put the baking sheet in the oven (oven rack set to middle position) and set a timer for 10 minutes.
When I came back 10 minutes later, everything started to fall apart quickly. I checked the dates and decided they needed another minute or two before turning. However, I never got the chance to turn them. About 1 minute after I closed the oven door, the delicious bacon smell that was filling my kitchen turned to a burning smell. I called Dave into the kitchen to consult. A few seconds after he arrived, we discovered why the smell changed when I looked through the oven door to see a small grease fire. Needless to say, I freaked out a bit and demanded that Dave fix the problem. He extinguished the fire with baking powder, what a resourceful chemist. Once the fire was out, we went about airing out the kitchen.
Not one to give up on a project, I decided to secure the dates with toothpicks and finish the dates stove top in a large sauté pan. Dave removed the pan from the oven before extinguishing the fire. It took about 5 to 10 minutes to finish the dates this way. Even half cooked, the bacon dripped so much grease. I had to drain the fat halfway through. Once the bacon appeared done, I removed the dates from the pan and let them cool for 10 minutes on a paper towel lined plate.
Dave and I ate a few of the dates and they were okay, but not great. The bacon I purchased was too thick. I thought it looked a bit thick when I was at the meat counter, but figured things would be ok. Next time, I will listen to my gut feelings.
The most important lesson from the night, use the right tool for the job. If I would have used a baking dish or a proper baking sheet, not a cookie sheet, I wouldn’t have started a grease fire in my oven. Let my stupidity serve as a fire safety reminder to all. Do you know where your fire extinguisher is? Mine is under my sink. Grease fires can be extinguished by smothering them with a pot lid, a fire extinguisher, or with baking soda. Never pour water on a grease fire.
Overall grade: C-. Do not let my mistakes dissuade you from making bacon wrapped dates. I will be making them later this week and documenting the results. I will not be bested by my own stupidity.