Pages

Tuesday, February 12, 2013

Ingredient 6 – Broccoli Rabe

This week's ingredient goes by many names: broccoli rabe, rapini, broccoletti, and turnip broccoli.  Broccoli rabe is a green.  It bears little resemblance to the broccoli you find on veggie trays.  However, the association comes from the plant's flowers, which resemble single stocks of broccoli.  Broccoli rabe belongs to the genus brassica and is related to cabbage, kale, cauliflower and mustard.   This green is native to both the Mediterranean and China and is a common ingredient in both regions' cuisines.  When selecting broccoli rabe, look for leaves that are bright green.  Avoid leaves that are wilted, yellowing, or have bits of dark slime. 

Sautéed Broccoli Rabe Skillet
Serves 4
2 bunches broccoli rabe
1 15 oz can Cannellini beans
3 mild Italian chicken sausages
9 cloves of garlic
1/4 cup Asiago cheese
4 tbs olive oil
1/2 tsp red pepper flakes
Dash of salt
02-12-2013 028

Begin by bringing 3 to 4 quarts of salted water to a boil and place a large mixing bowl, half-full of cold water, in the freezer.  While the water is coming to a boil, heat 2 tablespoons of olive oil in a covered skillet (medium heat).  Once hot, add the sausages, cooking them on each side for 4 to 5 minutes.  FYI - I covered the skillet because I wanted to ensure the sausages were fully cooked.

While the sausages are cooking, prep the rabe.  The prep is gloriously simple; rinse the rabe and cut off the bottom inch of the stems.  By the time the rabe is prepped, the sausages will be done cooking.  Place them on a plate to cool.
 
02-12-2013 03802-12-2013 05102-12-2013 047

When the pot of water has reached a a nice rolling boil, add 1/2 the rabe, cover the pot, and let it cook for 90 seconds.  After 90 seconds, remove the rabe from the pot with kitchen tongs, place it in the bowl of cold water you removed from the freezer, and let it sit in for 1-2 minutes.  Repeat the whole sequence with the other 1/2 of the rabe.
    
02-12-2013 056 02-12-2013 059

In case you were curious, quickly cooking the rabe in hot water and then placing it in cold water removes the rabe's bitterness.  This cooking technique is know as blanching.

Once all the rabe had been blanched, gently press out the excess water and chop the rabe into bite sized pieces (1 to 1 and 1/2 inches).

02-12-2013 068

Next, dice the 9 cloves of garlic, sliced the sausages, and drain and rinse the canned beans.
Again heat 2 tablespoons of olive oil in a covered skillet (medium heat).  Once hot, add the garlic, cooking it until it is light brown (roughly 2 minutes).  Next, add the sausage and rabe, letting it cook 2 to 3 minutes, turning it occasionally.  Finally, add the beans, and red pepper flakes.  Gently mix the ingredients and cover the pot.  Let the contents cook on medium low heat for 4 to 5 minutes.

02-12-2013 07702-12-2013 093

Remove from heat, sprinkle the cheese on top, and serve.

02-12-2013 100

I was pretty happy with how this dish came out.  There was plenty of rabe and I am always disappointed when greens disappear into a dish.  The main downside to the dish was the number of dishes it created.  As for taste, it was good the first night but even better the next day when I reheated the leftovers for lunch.  Overall grade: B.

Sunday, February 10, 2013

Ingredient 5 - Take 2 - Dates

This last Friday night I remade the dates.  I used center cut bacon and a proper pan.  No fires were started.  Because there are only two date eating residents in our home, I made approximately eight dates for hors d'oeuvres hour (the 45 minutes it took me to make chicken wings and fries for dinner).

02-08-2013 002

8-10 pitted dates
4 strips center cut bacon
Blue cheese

I tried cutting the bacon in half lengthwise like all the recipes suggested, but the bacon fell apart.  I ended up cutting each strip of bacon in half or in thirds; bigger dates got longer pieces of bacon.  I stuffed most of the dates because I wanted to use up the blue cheese I purchased for the previous attempt. 

02-08-2013 015 

I used toothpicks to help secure the bacon to the dates.  You don't have to use toothpicks but I thought it keep everything together better when turning.

02-08-2013 017

I baked the dates at 400 degrees for 10 minutes before turning them and baking them another 3 to 4 minutes.  I thought I might have to cook them cook them 8 to 10 minutes after turning.  However, I kept a close eye on these after last week's fiasco.

02-08-2013 02302-08-2013 026

I would recommend baking the dates for about 14 minutes, turning halfway through.  Watch them closely because bacon is a fickle friend.  It can turn from wonderfully crispy to burnt all too quickly.

02-08-2013 031

Let the dates cool for 5 to 10 minutes before consumption.

Not surprisingly, Dave and I thought these dates were much better than the first batch.  The bacon was crispy and the dates and cheese melted in the mouth.  Overall grade: B. 

Monday, February 4, 2013

Ingredient 5 – Dates

I selected dates for this week so I could make bacon wrapped dates for the Superbowl.  Honestly, I really don't give two hoots about the Superbowl or professional football.  But, the Superbowl has become a food event in American culture and I never turn down an opportunity to make an appetizer.

Dates are the fruit of the date palm tree.  They have been cultivated for thousands of years, originally in and around Iraq.  The date fruit is oval shaped and ranges from bright red to bright yellow when ripe.  There are three main types of dates: soft (e.g. Medjool), semi-dry, and dry.  Dates have a cylindrical pit, but you can buy them pitted.  Dried should be stored in an airtight container in a cool dry place (up to 6 months) or the refrigerator (up to a year).

When searching Google for instructions on how to prepare the dates, I came across recipes with a range of cooking temperatures, 350 to 450 degrees.  I decided to go with 400 degrees.
02-04-2013 002

Bacon Wrapped Dates   
3/4 lb thin sliced bacon
1 8oz package pitted dates
Blue cheese or almonds for stuffing - optional

Begin by pre-heating the oven and lining a baking sheet with aluminum foil.  Before assembling, pre-slice some cheese so you don't risk food contamination with your bacon covered hands.  If you are stuffing the dates, you will need to open them up by sticking your finger in the end of the date.  They open easily. 
02-04-2013 003 02-04-2013 006  
I saw varying directions on how to prepare the bacon for wrapping.  But most of the recipes suggested cutting the bacon in half lengthwise.  I tried a few different wrapping styles in an attempt to see which worked best.  Some dates got more bacon wrapped around them then others.   
02-04-2013 01202-04-2013 013
After I prepared the dates, I put the baking sheet in the oven (oven rack set to middle position) and set a timer for 10 minutes.

When I came back 10 minutes later, everything started to fall apart quickly.  I checked the dates and decided they needed another minute or two before turning.  However, I never got the chance to turn them.  About 1 minute after I closed the oven door, the delicious bacon smell that was filling my kitchen turned to a burning smell.  I called Dave into the kitchen to consult.  A few seconds after he arrived, we discovered why the smell changed when I looked through the oven door to see a small grease fire.  Needless to say, I freaked out a bit and demanded that Dave fix the problem.  He extinguished the fire with baking powder, what a resourceful chemist.  Once the fire was out, we went about airing out the kitchen.

Not one to give up on a project, I decided to secure the dates with toothpicks and finish the dates stove top in a large sauté pan.  Dave removed the pan from the oven before extinguishing the fire.  It took about 5 to 10 minutes to finish the dates this way.  Even half cooked, the bacon dripped so much grease.  I had to drain the fat halfway through.  Once the bacon appeared done, I removed the dates from the pan and let them cool for 10 minutes on a paper towel lined plate.
02-04-2013 017 02-04-2013 018 02-04-2013 023
Dave and I ate a few of the dates and they were okay, but not great.  The bacon I purchased was too thick.  I thought it looked a bit thick when I was at the meat counter, but figured things would be ok.  Next time, I will listen to my gut feelings.

The most important lesson from the night, use the right tool for the job.  If I would have used a baking dish or a proper baking sheet, not a cookie sheet, I wouldn’t have started a grease fire in my oven.  Let my stupidity serve as a fire safety reminder to all.  Do you know where your fire extinguisher is?  Mine is under my sink.  Grease fires can be extinguished by smothering them with a pot lid, a fire extinguisher, or with baking soda.  Never pour water on a grease fire.

Overall grade: C-.  Do not let my mistakes dissuade you from making bacon wrapped dates.  I will be making them later this week and documenting the results.  I will not be bested by my own stupidity.

Friday, February 1, 2013

Ingredient 4 – Baby Bok Choy

The idea for this week's ingredient came from my parents.  Over the last year, my mom has made several positive comments about my dad's baby bok choy sautés.  I had planned on getting the recipe from him and making it for the blog, but I was in the mood for stir fry over the weekend and figured that making a stir fry would be a great way to try bok choy.

Both bok choy, Brassica chinensis, and baby bock choy are varieties of cabbage.  The mature variety has white stems and dark green leaves while the baby variety has light green steams and medium green leaves.  The stems are crisp like celery and the leaves resemble Romaine lettuce.

Bok choy has been grown in southern China for thousands for years, but its hearty nature has lead to cultivation in cooler climates, Northern Europe, the United States, and Canada.  It is used in soups, stews, stir fries, and salads. 

When selecting bok choy, look for smooth, blemish free, white steams and dark crisp greens.  Baby bok choy should have smooth, blemish free, light green steams and crisp leaves, free of yellow or brown marks.  Both varieties can be stored in the refrigerator for four to five days.

When making stir fry, I usually include as many vegetables as possible.  However, this time I decided that less would be more.  I didn't want the bok choy to feel like an afterthought.  

01-27-2013 011  
Chicken and Bock Choy Stir Fry
serves 3 to 4
2 bunches baby bock choy
1lb boneless skinless chicken breast
1 package of mushrooms - I used a blend of Shitake, Crimini (Baby Bella), and Oyster. 
2 cloves garlic
2 tsp chopped ginger
3 tablespoons sesame oil
1/4 cup oyster sauce
2 tbs soy sauce
1 tbs honey
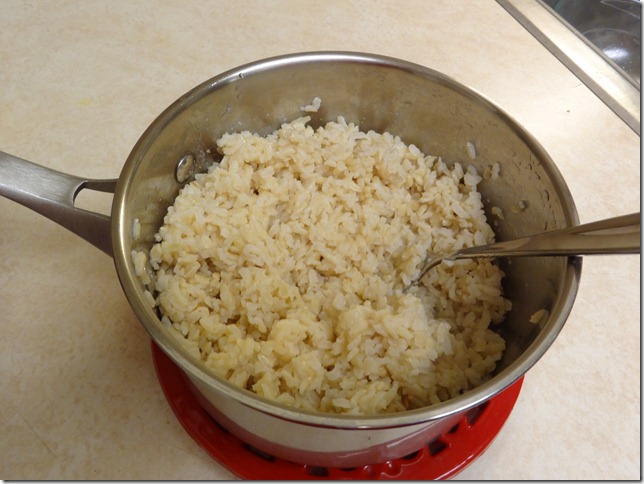
Brown or white rice – I used brown rice.

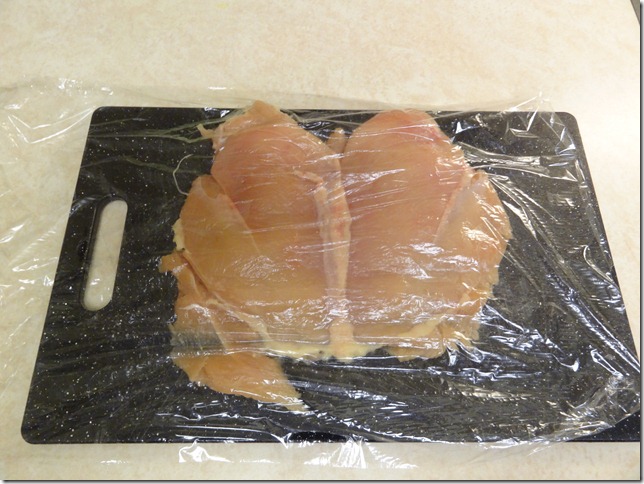
Begin by preparing the chicken breasts.  Pound them with a heavy object until they are a uniform thickness.  I placed my chicken on a dishwasher safe cutting board, covered it with cling wrap, and went to town on it with a rolling pin.  Don't be shy, the chicken is already dead, take out your pent up frustrations out on that piece of meat.  It may not be as good as therapy, but it is a damn close second in my book.   

01-27-2013 015 01-27-2013 017

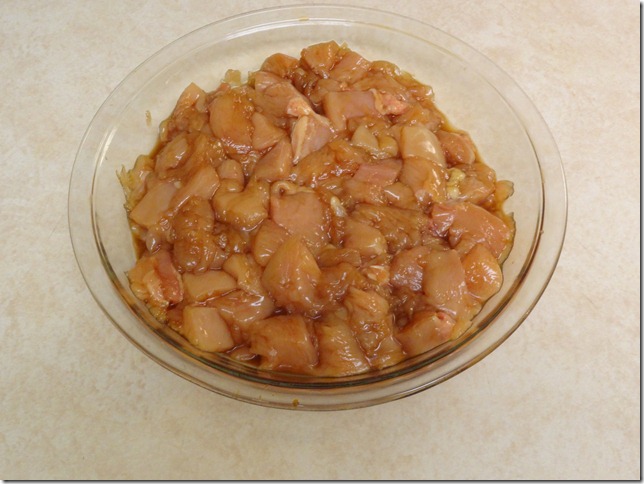
Next, cut the chicken into bite sized pieces.  Combine the honey and the soy sauce in a shallow dish and add the chicken.  Gently turn the chicken, ensuring that all pieces are covered in the sauce.
01-27-2013 020

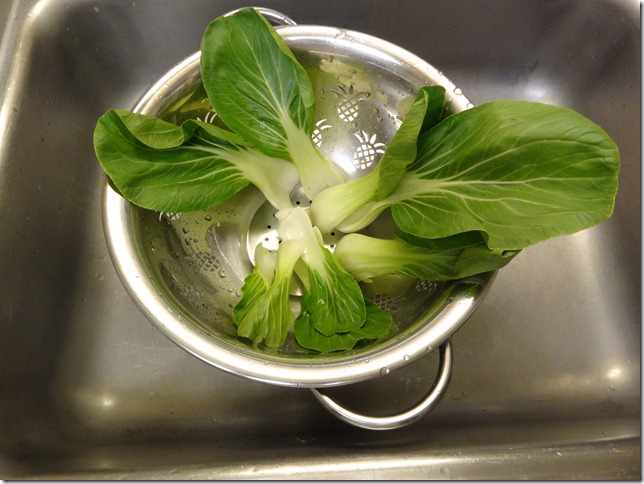
While the chicken is marinating, prepare the vegetables.  Trim off the bottom of the bok choy bunch so you can pull apart the leaves for washing.  Just like leeks, bock choy likely has some soil and sand between the leaves, and thus needs thorough rinsing.  I placed the separated leaves in a colander and rinsed them with cold water before laying them to dry on a paper towel.

01-27-2013 022 01-27-2013 027 01-27-2013 028

Once clean and dry, separate the steams from the greens and chop both sections and place in separate containers.

01-27-2013 032 01-27-2013 040

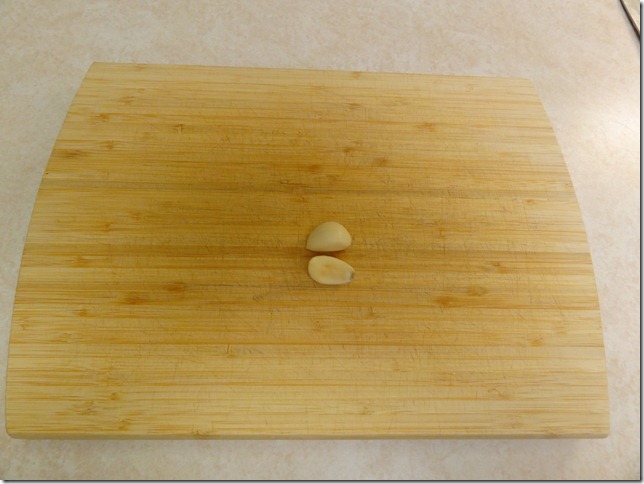
Next, prepare the garlic and ginger.  Dice the garlic (2 cloves) and use a vegetable peeler to remove the skin of the ginger so you can cut off a piece for dicing (2 tsp).
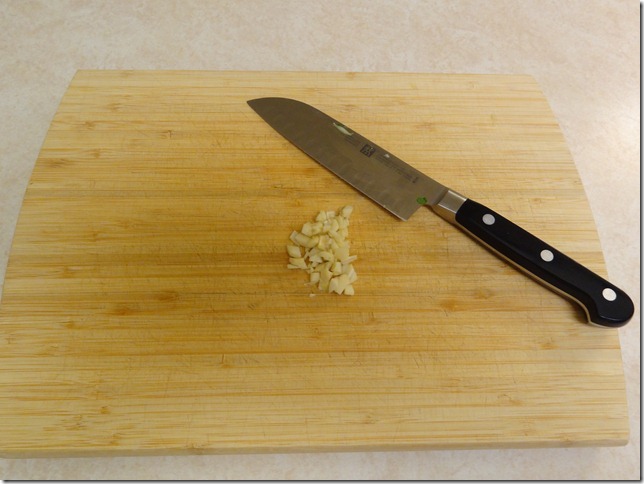
01-27-2013 043 01-27-2013 046 01-27-2013 050

I purchased a blend of pre-prepared mushrooms.  So I didn’t need to do anything to them.  But if you purchase whole mushrooms, this would be a good time to clean and slice them.

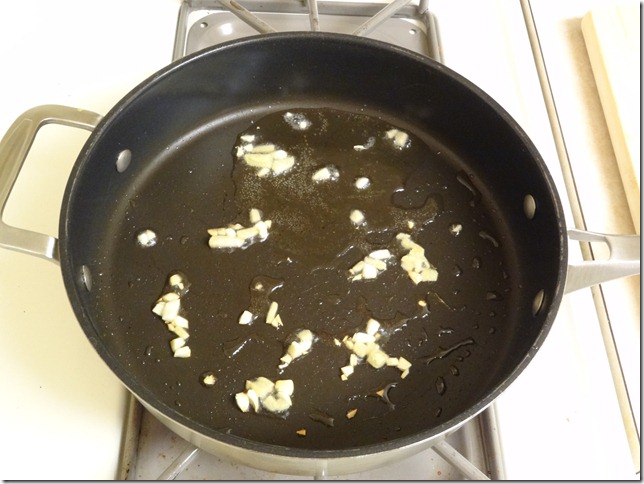
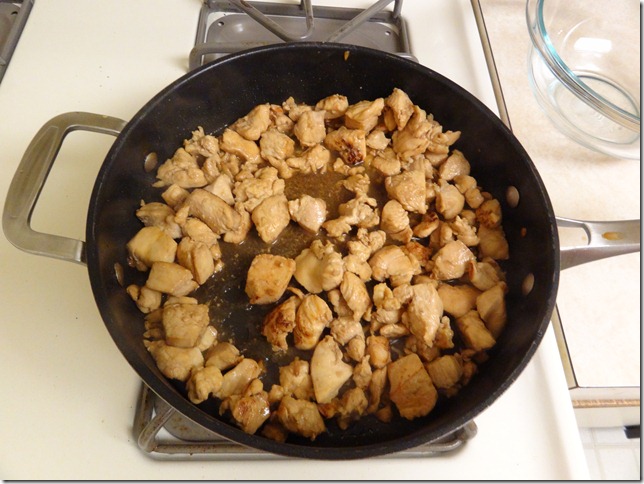
Once all your ingredients have prepared, get your wok or large sauté pan hot (medium-high heat) and add 2 tablespoons of sesame or wok oil.  Then, add half of the garlic and ginger, letting it cook until it has turned light brown, roughly two minutes.  Add the chicken and start turning it with tongs after a minute or two.  The chicken will take between 5 to 10 minutes to sauté.  Once cooked, remove the chicken from the pan and prepare to cook the vegetables.

01-27-2013 053 01-27-2013 058 01-27-2013 059 01-27-2013 063

Begin by, once again, heating your wok or large sauté pan (medium-high heat) and adding 1 tablespoon of sesame or wok oil, once hot.  Then, add the rest of the garlic and ginger, letting it cook until it has turned light brown, roughly two minutes.  Add the bok choy stems and let them cook for 4 to 5 minutes, turning them frequently.

01-27-2013 072

Next, add the mushrooms to the pan, continue to turn the mixture frequently.  Once the mushrooms cook down (4 or 5 minutes), add in the bok choy greens.  Like all greens, these will cook down quickly.
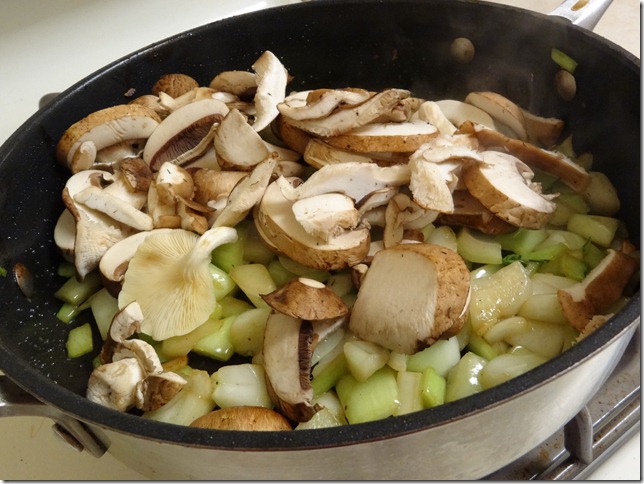
01-27-2013 07801-27-2013 079 01-27-2013 083

After the greens have cooked for a minute or two, add a 1/4 cup of oyster sauce to the pan.  Push the contents to the sides of the pan, creating an open space in the middle of the pan for the sauce.  Let the sauce warm for a few seconds before mixing the sauce into the ingredients.
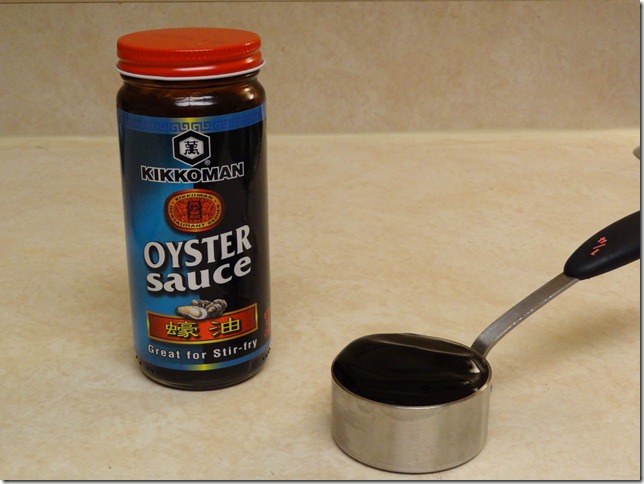
01-27-2013 07501-27-2013 08601-27-2013 090

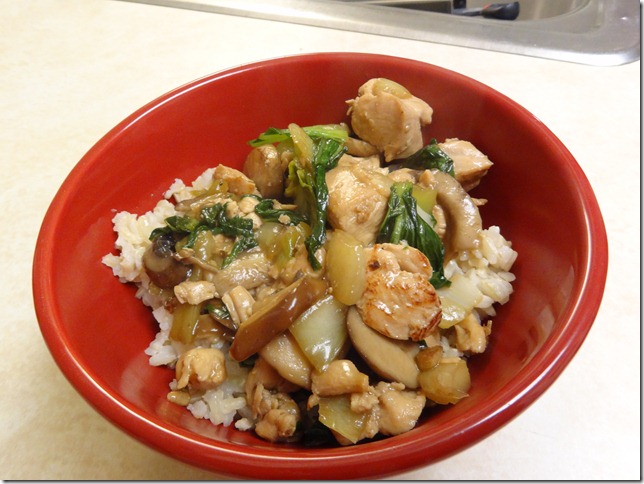
Once the vegetables are thoroughly coated in the sauce, add the chicken back into the pan.  Continue to mix the contents for 2 or 3 minutes, then remove from heat and serve over rice.

01-27-2013 092 01-27-2013 095 01-27-2013 099

This recipe came out really well, I had to call dibs on the leftovers.  The oyster sauce was wonderfully rich but not overwhelming.  The leftovers re-heated well on Tuesday when I took them to work for lunch.  I will definitely be making this again, you can count on that.  Overall grade: A-.

Monday, January 28, 2013

Seriously Delicious Yogurt

A few weeks ago, I found myself perusing the yogurt isle at Whole Foods Foggy Bottom.  I was in the mood to try something different seeing as Fage 2% accounts for 90% of my yogurt consumption.

I ended up finding Noosa, an Australian style yogurt.  It comes in a handful of flavors: blueberry, mango, peach, honey, raspberry, passion fruit, and strawberry rhubarb.  I didn’t purchase any that day because my basket was way too full already.  However, I ended up purchasing some last weekend when I was at Target.

01-27-2013 001 01-27-2013 003

The package contains two four ounce servings and each serving is 140 calories.  I had the yogurt this past Saturday for breakfast.  It was delicious, rich, smooth, and creamy.  To be honest, it tasted a lot like full fat Greek-style yogurt. 

01-27-2013 006 01-27-2013 008

Apparently, Australian style yogurt is basically Greek-style yogurt infused with honey.  The honey is supposed to add a “sweet-tart tang”.  I may have not tried a notably different type of yogurt but Noosa was so delicious I don’t really care.  The two servings were pretty filling and wonderfully decadent.  Next time you are at Target of Whole Foods, pick yourself up a container.  You will  be glad you did.